Why “test day engineering” is the fastest, cheapest performance upgrade
Track time is expensive, but unstructured track time is even more expensive. The difference between a productive test day and an expensive joyride usually isn’t talent—it’s process. A well-run test day gives you repeatable answers to questions like: Which tire pressure actually works on this surface? Is understeer coming from front grip or rear balance? Is the driver leaving time in two corners or everywhere?
This guide is built for club racers, time-attack drivers, and track-day teams who want to operate like a professional outfit—without adding headcount. You’ll leave with a step-by-step system to plan, execute, and analyze a test day using simple tools: a lap timer or data logger, tire gauge/pyrometer, basic tools, and a spreadsheet.
Step 1) Choose a single, measurable test objective (not “go faster”)
The most common mistake is arriving with ten changes to try and no hierarchy. Pick one objective and define how you’ll measure it. Examples:
- Improve low-speed rotation: measured by minimum speed in two specified hairpins and steering angle consistency (if available).
- Reduce tire degradation: measured by lap time drop-off over a 6-lap run and hot pressures vs. target.
- Stabilize braking: measured by braking point variance (GPS) and peak decel consistency (if available).
Actionable tip: Write your objective at the top of your run plan, and do not test anything unrelated unless the car becomes unsafe or undrivable.
Step 2) Lock your constraints: time, tires, fuel, and “hard stops”
Test days fail when teams overspend early or chase their tail late. Before you touch the car, set constraints:
- Session budget: How many runs? (Example: 6 runs total, 5–8 laps each.)
- Tire plan: One set? Two sets? Define maximum heat cycles.
- Fuel plan: Always start runs at a consistent fuel level (e.g., 15 liters) to keep weight comparable.
- Hard stops: Conditions that end testing (e.g., brake pedal long, oil temp over limit, cords showing).
Real-world example: If you’re in a time-attack format where a 30 kg fuel difference is plausible, that’s roughly the weight of a medium passenger. Even if you can’t calculate exact lap-time sensitivity, you can avoid misleading comparisons by standardizing fuel at the start of each A/B run.
Step 3) Establish your baseline with a “no hero laps” reference run
Your first run should be boring on purpose. The goal is to capture a clean baseline: stable traffic-free laps, consistent braking points, and no setup changes. Log:
- Ambient temperature and track condition (dry/damp/windy)
- Cold tire pressures (all four corners)
- Hot tire pressures immediately after the run
- Driver notes on balance in three phases: entry/mid/exit
- Best lap and average of the best 3 consecutive laps
Actionable tip: Use “best 3-lap average” rather than “single best lap” for most setup decisions. One flyer can flatter a change that’s actually inconsistent.
Step 4) Build a run sheet that prevents “A/B testing lies”
A/B testing on track is deceptively hard because conditions change: tire temps, fuel burn, traffic, wind, and driver adaptation. Your run sheet should minimize false positives:
- Only one change per run (two at most if they’re mechanically linked, like ride height and toe correction).
- Repeat the baseline after two changes to check that gains are real (A → B → C → A).
- Fix the driver inputs: same warm-up procedure, same out-lap pace, same push lap count.
Practical run sheet structure: Run 1 baseline. Run 2 change #1. Run 3 revert (baseline check). Run 4 change #2. Run 5 change #2 refined. Run 6 “qualification simulation” with the best package.
Step 5) Instrument the car with “minimum viable data” (and use it properly)
You don’t need a factory ECU engineer to benefit from data. At minimum, aim for:
- GPS lap timing with track map (sector times, speed trace)
- RPM and throttle position if available
- Brake pressure if your system supports it (nice-to-have)
What matters is consistency in how you interpret it. Look for:
- Earlier throttle versus higher mid-corner speed (they solve different problems)
- Speed trace “plateaus” (coasting or hesitation points)
- Braking point scatter (driver uncertainty or instability)
Data point to remember: A 0.05–0.10 second improvement in four corners is often more reliable than a 0.4 second gain in one corner that disappears in traffic.
Step 6) Make tire temperatures a first-class metric (not an afterthought)
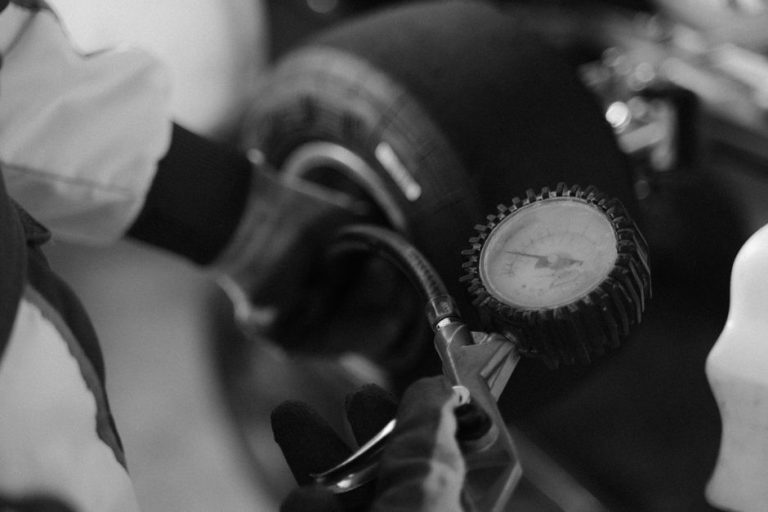
Tires are your biggest performance lever, and they’re also your biggest source of misleading feedback. After each meaningful run, take tire temps and pressures immediately—timing matters. Ideally, measure three points across the tread (inside/middle/outside) for each tire.
- Inside hotter than outside: can indicate too much camber, too much slip angle, or long loaded corners.
- Middle hottest: often points to overinflation for the load/temperature.
- Outside hottest: often suggests not enough camber or rolling onto the shoulder.
Actionable tip: Set a target hot pressure window and chase it ruthlessly. If you don’t know your window, start by keeping hot pressures consistent run-to-run, then evaluate lap times and wear. Consistency first, optimization second.
Step 7) Use “single-corner diagnosis” to avoid changing the wrong end of the car
Drivers often describe the symptom (“it understeers”), but you need the cause. The same understeer can come from three different phases:
- Entry understeer (won’t turn in): often braking technique, front tire temp, front rebound/ARB, or too much front pressure.
- Mid-corner understeer (pushes at steady state): often front camber, front tire overload, or diff settings (FWD/AWD).
- Exit understeer (pushes on throttle): often rear grip excess, front tire overheating, or torque delivery/diff behavior.
Real-world example: If data shows the driver lifts mid-corner because the front won’t bite, adding rear roll stiffness might make the car rotate—yet the true limiter could be front tire overheating from too-high hot pressure. Fix the tire window first; then adjust balance.
Step 8) Prioritize changes by “risk-to-reward” and reversibility
Not all setup changes are equal. On a limited test day, prioritize changes that are:
- High impact (tire pressures, alignment adjustments within safe bounds)
- Quick to reverse (ARB clicks, damper clicks, pressure changes)
- Low safety risk (avoid radical ride-height changes that risk bottoming or aero stall)
Simple priority list: Pressures → ARBs/dampers (small steps) → alignment (planned) → ride height/aero (only with careful checks) → drivetrain/diff (if you can log properly).
Step 9) Run a “traffic-proof” validation: the repeatability test
Before you declare victory, validate your best change in a way that survives real track conditions.
- Repeat the best configuration after a cool-down (to reset heat soak and driver hype).
- Compare best 3-lap average, not a single lap.
- Confirm tire wear and hot pressure stability are acceptable.
Actionable tip: If your “fast” setup only works for one lap and then falls off, it’s not a race setup. For sprint racing, you need it to last 10–20 minutes; for endurance, hours.
Step 10) Convert findings into a setup notebook (so you keep the gains)
The real ROI of a test day is what you can reuse. Create a one-page summary per track and condition:
- Baseline setup (alignment, pressures, damper/ARB settings)
- Best hot pressure window and how many psi it typically rises
- Weather notes (ambient/track temp, wind direction if relevant)
- What didn’t work (and why)
- Driver cues: “If entry understeer appears, first check X, then try Y”
Process tip: Treat your notebook like an engineering log. The goal is to stop re-learning the same lessons every season.
Bonus: How to keep your test day aligned with the broader motorsport landscape
Motorsport evolves quickly—cost caps, tire supplier changes, sustainability requirements, and series regulations can affect parts availability and event formats. Keeping an eye on reputable motorsport reporting helps you anticipate shifts that may affect your program (from tire allocations to calendar changes and supplier dynamics). A solid, general resource for motorsport business and industry developments is Reuters motorsport coverage, which can provide timely context when planning your season.
Conclusion: A professional test day is a repeatable system, not a lucky setup
Fast laps come from disciplined iteration: a clear objective, a trustworthy baseline, one change at a time, and validation that survives changing conditions. If you follow the steps above, you’ll stop guessing and start building a setup that works reliably—saving tires, saving track time, and finding lap time that stays found.
At Lasco Motorsport, this is the mindset that separates “trying things” from engineering performance. Bring a plan, capture clean data, and leave the circuit with decisions—not just memories.